How to use MtPaint: The smallest and strangest painting program ever made. Maybe.
Date:
[]
How to use MtPaint: The smallest and strangest painting program ever made. Maybe.
 :
:
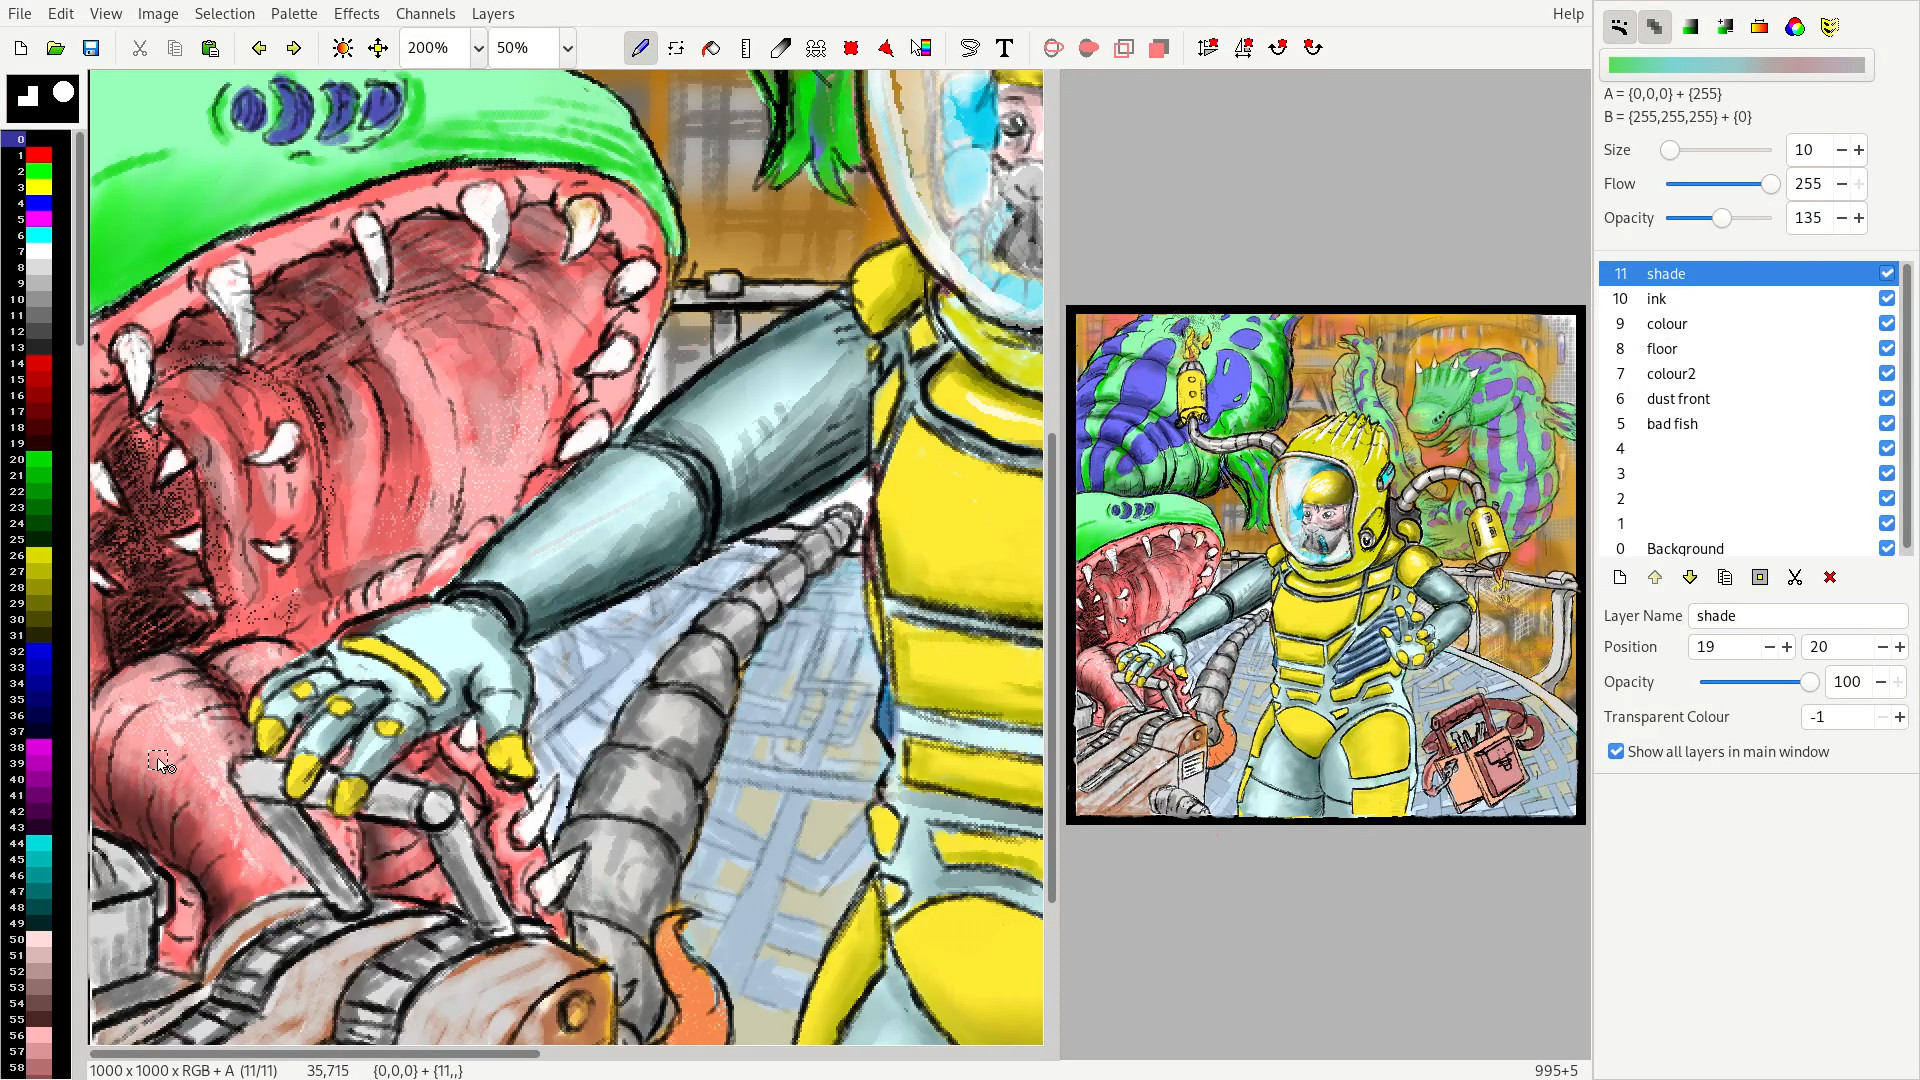
What I'm drawing in here is a program called Mtpaint. Which is short for Mark Tyler's painting program. It is a super lightweight program developed in the C language.
The program is so small and loads so fast. By the time the sound of me pressing the Enter button has stopped echoing in the room; the program has already loaded.
The first time I opened MtPaint I thought to myself: Well I guess this is going to be one of those very simple programs, it's only a few megabytes, so it's going to be more of a simple toy.
But the more I used it the more amazed I was as to what it could do despite being such a small program.
Some of the tools it has:
- Pencil drawing tool which has a few simple brushes and also basic dynamics from a graphics tablet.
- Fill tool
- Smudge tool
- Some basic pattens for the Pencil brush tool
- selection tools
- Clone drawing tool
- Text input
- A very powerful and customisable gradient tool
- A few useful effects
- And every layer also has a alpha, selection and mask channel.
-
And more stuff. Colour transform... etc
Quite a powerful little program. Can't compare it to a program like gimp though. But it's very powerful for its size. Unfortunately the design of this program, probably a result of it trying to be computationally efficient as possible, is a bit unconventional. It's a bit esoteric.
The type of person that would use this program would have to be a linux user, an artist and also an appreciator of small efficient software. Which is me. Now when I say efficient, I mean computationally. Which means the user sometimes has to some of the thinking. Or there is something to learn before you can use it effectively.
So unlike most painting apps that can be learnt with some casual experimentation in an afternoon without reading anything at all. The Mtpaint manual was a necessary read for me. And this video isn't meant to be a replacement for the MtPaint manual. But more of an introduction to the most unconventional and confusing parts of this program that I've found. So it's not immediately confusing to those who want to try it.
Saving 'a file':
In most painting programs there is some kind of file format that can save all of your layers and settings into a single file.
MtPaint doesn't have that.
So when you do to file > Save as. All you are doing is saving is the layer that you are currently editing.
So you do you save a composite image which is made up of separate layers?
Well first you need to save each layer separately. I like to save all the layers for a project into their own folder.
Then you can click on Layers > Save as. And save the file in the same folder just so things do get confusing for you later on.
And Mtpaint will then complain if you haven't yet saved the layers at least once.
What Mtpaint is doing here is creating a text file which has all of the information about where each layer is, which is just a png, and other settings it needs.
So next time you start MtPaint you can go to File > Open and then select the file you created.
Now keep in mind that clicking Layers > save, doesn't 'save your layer images'. It only generates a text file so MtPaint knows where to find them later. So if you have made modifications to a layer you will need to use file > save. Or Ctrl - S .
Channels :
Each layer has a
- Image channel
- alpha channel
- selection channel
-
mask channel
Image channel alpha channel They are self explanatory. As to what they are. If it's a new layer and you want to have an alpha channel on it select the 'cleared' option when you select Channel > new.
The selection channel gives you the ability to create selections by painting then on the pixel level. So when you copy something back in the image channel. Only the things you have painted on in the selection channel will be copied.
And painting on the mask channel stops you from painting/filling/editing those areas back in the image channel.
The behaviour of layers:
In the layers section of the settings tool bar there is a layer duplicate button. You need to be careful of that button when you are saving your flies. For example:
You'll create a layer. Draw on it. Duplicate it. Draw on the new one. Save it. Then if you save the original one you made I found that it will override the work you've done on the copy.
This is because the duplicated file has exactly the same file name as the original.
When you are copying and pasting transparency doesn't seem to work if you are pasting on the same layer. Unless you lasso your selection after you press the paste button. But that never works for objects that are slightly opaque . But the alpha channel always works when you pasting onto a new layer.
Also there are two ways to get transparency to work: There is the alpha channel. And also this transparent colour option in the layer settings box. It just turns a single colour of that layer transparent, according to the number in the palette on the left side.
MtPaint has up to 1000 undos. But each layer has a separate undo history. As if it is an independent copy of MtPaint running parallel. That is how I view the layers in Mtpaint. Makes it easier to understand. Also explains why you can't undo a layer deletion. You've shut down that program without saving it.
You will also notice that if you select a colour from the palette in one layer it won't be selected when you switch over to the other layer. Yes even your colour selections are separated by the layers.
Copying and pasting from layer to another layer has a bit of a trick to it.
Painting in Mtpaint:
When painting you only have one additive tool. The paint tool. And if you press F3 you can choose a small selection of basic brushes of different sizes.
These brush heads can't exactly be used with the clone, smudge, line and shuffle tools. They have their own default brushes. But selecting a brush will change the size of these tools.
Like the straight line tool always uses a rounded solid brush. The clone, shuffle and smudge tool always a square solid brush head.
Erasing . Where is the erasing tool?
I can't find in the program, or in the documentation any mention of an eraser. So the way you 'erase' so to speak, if you are painting on a layer that has no alpha channel, is to have your 'B' colour set to white. Or what ever colour you want your default background to be. If the layer has an alpha channel. I would set the colour of B to to Alpha:0 in the color editor. So whenever you switch to the B colour, by pressing X or be using your right mouse button, you can render your errors invisible.
Making a selection doesn't work?
Making a selection only works for the following things:
- Copying
- Outlining a selection
- Creating an ellipse inside the selection
- and a few other things
It does not restrict where you are editing or painting.
You will need to use the mask channel for that.
If you want to fill a selection you can't use the fill tool for that. You need to use 'fill selection' which can be found in the selection menu.
Painting modes
listed from left to right:
Continuous:
Each line you make is made up of lots of little dots, and those dots are the size of the brush head you've selected. Continuous mode keeps those dots close together for one continuous line. Also you can right click on that mode button to adjust the brush spacing for when the mode isn't active.
Opacity mode:
This makes the opacity for each brush action uniform. Instead of it constantly getting darker each time you pass over the same continuous line.
Tint mode:
I still don't get this one. Instead of completely replacing any pixels you might be drawing on. It increases the value of them instead. Towards white. The manual describes it as: "If the tint mode is switched on while editing an RGB image then instead of replacing the whole colour, the operation will increase or decrease the individual colour channel relative to colour A and B".
Tint +- :
Seems to invert whatever tint mode does.
Colour selective mode:
So this is a type of mask which, instead of using the mask channel, uses the colours of the pixels of the canvas.
You can change the colour settings by right clicking the painting mode button.
Blend mode :
This mode lets you take an image source from another layer. Which doesn't need to be visible. And then you can paint that image onto another layer. You need to right click the mode button on configure it. And there are multiple different painting modes within it like: normal, hue, saturation, value etc.
Disable all masks:
This does what it says.
Getting the gradient tool to work:
I spent ages trying to get the gradient tool to make any changes to the layer. Until I read the manual and realised that it was a multi-step process.
- First select the gradient tool. If you need a custom gradient this is the time to right click the tool button for a custom gradient. It's a very powerful gradient tool. You can even make gradients of different channels as well. It also has live preview so you can draw your gradient line first and then change your gradient configuration and then click apply to see the preview.
- Now to apply the gradient to the layer you will need to select the 'gradient mode' option in the settings tool bar.
- Now you select what tool you would like to apply this gradient to the layer. The paint brush or the fill tool.
The end.
So there are the most confusing parts of Mtpaint. I know it seems I just explained the whole program.
Now you can make some great digital art on a computer that runs off a potato battery or something I dunno.